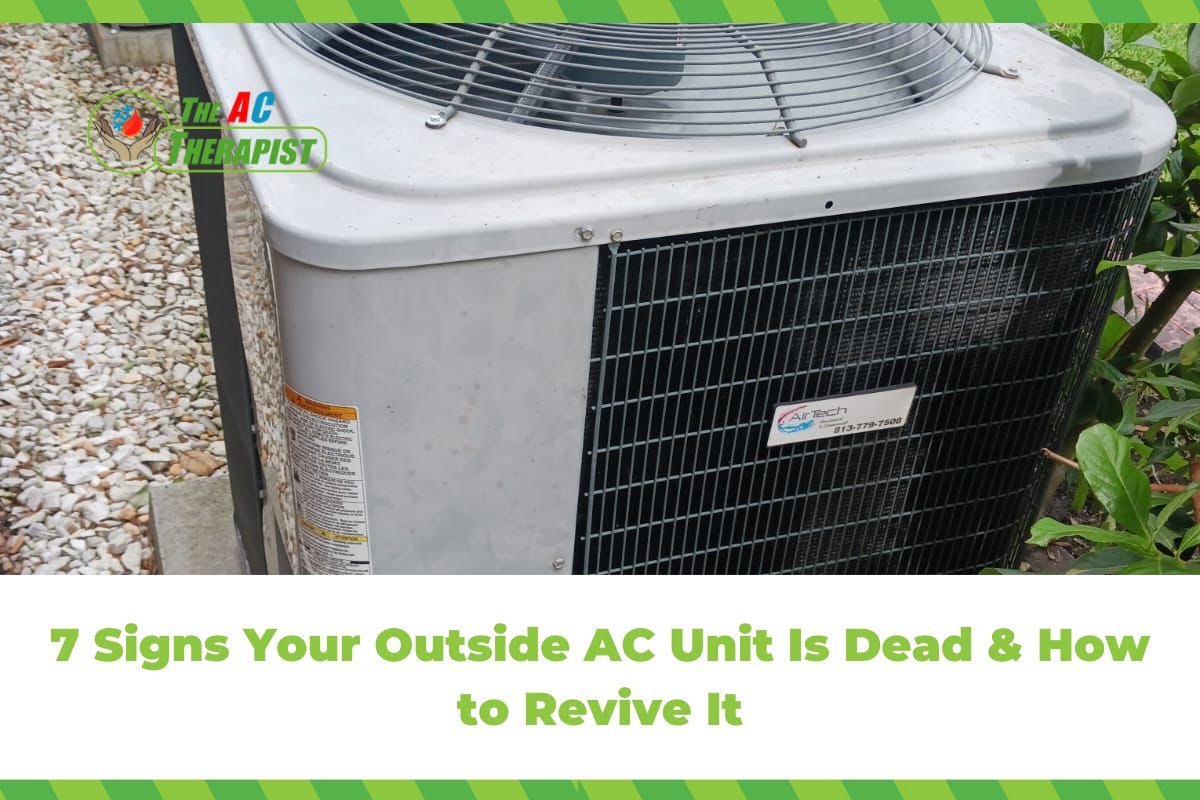

7 Signs Your Outside AC Unit Is Dead & How to Revive It
When your home’s outside AC unit fails to kick into action, it doesn’t just disrupt your comfort—it challenges your day-to-day living environment. An AC unit that won’t turn on is a common predicament that spans across all seasons, affecting not only your ability to stay cool during the warmer days but also impacting air circulation and quality year-round. The reasons behind this frustrating issue can vary widely, from simple fixes like a tripped circuit breaker to more complex problems such as compressor failure.
In this comprehensive guide, we delve into the myriad reasons why your outside AC unit may be experiencing difficulties and offer step-by-step troubleshooting tips to help you diagnose and, in many cases, rectify the problem. Additionally, we’ll highlight the significance of professional intervention for certain scenarios and provide essential maintenance tips to prevent future occurrences. Whether you’re facing an immediate concern or looking to arm yourself with preventive knowledge, this article aims to empower you with the insights and tools needed to ensure your AC unit remains a reliable source of comfort and air quality in your home.


DIY Troubleshooting Steps
When your outside AC unit fails to turn on, it can be a source of frustration and discomfort. Before you call a professional, there are several DIY troubleshooting steps you can take to possibly rectify the issue. These steps are straightforward and can save you time and money. Remember, regular maintenance and timely troubleshooting of your outside AC unit can prevent future failures. Here are key DIY steps to troubleshoot your outside AC unit:
1. Check the Power Supply to Your Outside AC Unit
First, ensure that your outside AC unit has not lost power. Check the circuit breaker or fuse box for any tripped breakers or blown fuses that might affect your outside AC unit. Also, verify that the emergency switch, often located on the wall near the unit, hasn’t been accidentally turned off.
2. Inspect the Thermostat Settings Affecting the Outside AC Unit
Incorrect thermostat settings can prevent your outside AC unit from turning on. Ensure the thermostat is set to “cool” and the temperature setting is lower than the current room temperature. If your thermostat runs on batteries, check if they need replacing. A malfunctioning thermostat might fail to communicate with your outside AC unit, preventing it from turning on.
3. Clean or Replace the Air Filter Linked to Your Outside AC Unit
A dirty air filter can restrict airflow and cause your outside AC unit to overheat and shut down. Check the air filter and, if necessary, clean or replace it. This simple step can significantly impact the efficiency and operation of your outside AC unit.
4. Reset Your Outside AC Unit
Sometimes, simply resetting your outside AC unit can resolve the issue. Turn off the power to the unit at the breaker box, wait a minute, and then turn it back on. This can sometimes reset the system and get your outside AC unit running again.
5. Clean the Outside AC Unit’s Condenser Coils and Cooling Fins
Dirt and debris on the condenser coils and cooling fins of your outside AC unit can impede its performance. Gently clean the coils and fins using a garden hose (after turning off the power to the unit). Be careful not to bend the fins. This maintenance can improve airflow and heat dissipation, potentially solving the issue of the outside AC unit not turning on.
6. Check the Condensate Drain Line from Your Outside AC Unit
Your outside AC unit has a condensate drain line that can become clogged, triggering a safety switch that turns off the unit. Check the line for clogs and clear it if necessary. This step ensures that your outside AC unit is not turned off due to a full condensate pan.
7. Inspect the Capacitor and Contactor in the Outside AC Unit
Although replacing a capacitor or contactor is more complex and might require a professional, you can still inspect these parts for visible signs of wear or damage. If you’re comfortable and knowledgeable about electrical components, you could consider checking these, but for many, this is where DIY troubleshooting of the outside AC unit ends and professional assistance begins.
Preventive Maintenance Tips
Regular preventive maintenance is essential for ensuring the longevity and efficiency of your outside AC unit. Proactive care not only prevents unexpected breakdowns during the hottest days but also saves money on energy bills and repair costs. Here are some key preventive maintenance tips for your outside AC unit:
1. Regularly Change or Clean Air Filters
- Impact: Air filters prevent dust and debris from entering the system. A clogged filter restricts airflow, forcing your outside AC unit to work harder, which can lead to overheating and premature failure.
- Frequency: Check filters monthly and replace or clean them as needed, typically every 1-3 months.
2. Keep the Area Around Your Outside AC Unit Clear
- Impact: Leaves, dirt, and other debris can obstruct the airflow and reduce the efficiency of your outside AC unit. This can cause it to overwork and increase your energy bills.
- Action: Maintain a clear area of at least 2 feet around the unit. Trim any bushes or trees nearby to prevent debris from falling into the unit.
3. Clean the Condenser Coils of the Outside AC Unit
- Impact: Dirty condenser coils can’t release heat as effectively, making your outside AC unit run longer and harder. This inefficiency leads to higher energy consumption and wear on the system.
- Frequency: Annually, before the cooling season begins, clean the coils with a garden hose after turning off the power to the unit. For deeper cleaning, consider hiring a professional.
4. Check Refrigerant Levels
- Impact: Proper refrigerant levels are crucial for your outside AC unit to cool effectively. Too little refrigerant can cause the system to freeze up and not cool your home efficiently.
- Action: Refrigerant levels and potential leaks should be checked by a professional as part of an annual maintenance visit.
5. Inspect the Condensate Drain Line
- Impact: A clogged condensate drain line can cause water to back up into your home or the outside AC unit, potentially leading to water damage and increased humidity levels.
- Action: Regularly check the drain line for clogs and clear it if necessary. A mixture of bleach and water can help keep the line clear.
6. Schedule Professional Maintenance
- Impact: Some maintenance tasks require the expertise of a professional, such as checking electrical connections, testing the thermostat’s accuracy, and inspecting the ductwork for leaks.
- Frequency: Have your HVAC system, including the outside AC unit, professionally serviced at least once a year. This typically includes a thorough cleaning, inspection, and adjustment of all components to ensure optimal performance.
7. Protect Your Outside AC Unit During Off-Season
- Impact: During months when the outside AC unit is not in use, it can collect debris or be damaged by severe weather.
- Action: Consider using a breathable cover to protect the unit from debris and ice during the off-season. However, ensure the cover allows for adequate air circulation to prevent moisture buildup.

Beat the Heat: The AC Therapist’s Comprehensive Guide to Reviving Your Outside AC Unit
In the journey to maintain a comfortable and cool environment in your home, encountering an outside AC unit that won’t turn on can feel like an unexpected hurdle. At The AC Therapist, we understand the urgency and frustration that comes with this challenge, especially during those critical moments when you need relief the most. This comprehensive guide was crafted to empower you, offering insights into the common causes of AC unit failures, and providing practical, DIY troubleshooting steps to help you address and resolve many of these issues on your own.
Despite the robustness of this guide, it’s important to recognize when a situation falls outside the realm of DIY and into the hands of experienced professionals. At The AC Therapist, we bring a wealth of expertise and a commitment to excellence in all we do, ensuring that your AC systems are not only functional but also operate at peak efficiency. Our team of skilled technicians is ready to step in when the complexity of the problem exceeds the simplicity of home remedies, providing you with swift, effective solutions that restore your comfort and peace of mind.
We also understand the value of prevention over cure. Regular maintenance is the cornerstone of a healthy AC system, helping to avert potential breakdowns before they occur. To this end, The AC Therapist offers tailored Therapy Maintenance Plans designed to fit your needs and budget, ensuring your system receives the care it deserves. From our Value Plan, offering basic maintenance and discounts, to our Elite Plan, encompassing comprehensive service features including UV light installation and filter replacements, we have options designed to keep your system in top condition.
If you find yourself facing an unresponsive outside AC unit despite following the tips and steps outlined, it’s time to call in the professionals. At The AC Therapist, we pride ourselves on our rapid response and thorough service, ensuring that your cooling system is back to providing the comfort and relief you rely on as swiftly as possible. Our dedication to your satisfaction drives us to deliver quality service, meticulous maintenance, and reliable repairs.
Don’t let a malfunctioning outside AC unit disrupt your life. Trust The AC Therapist to bring back the breeze, ensuring your home remains a sanctuary of comfort regardless of the weather outside. With our expertise, comprehensive maintenance plans, and unwavering commitment to customer satisfaction, you’re in good hands. Contact us today and take the first step towards a cooler, more comfortable home with The AC Therapist, where your comfort is always our top priority.