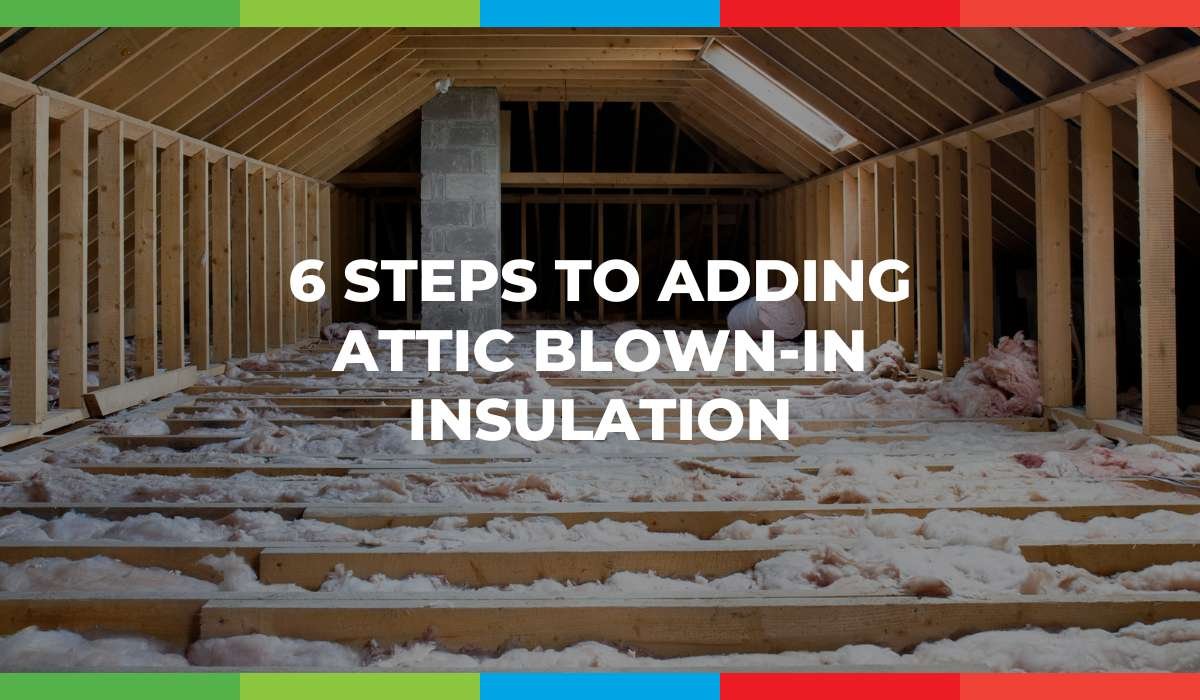
6 Steps to adding Attic Blown-In Insulation
Attic insulation is an essential component of a well-insulated home. It plays a crucial role in regulating the temperature inside the house, improving energy efficiency, and reducing utility costs.
Among the various types of attic insulation, blown-in insulation has gained popularity due to its ease of installation, cost-effectiveness, and versatility. This type of insulation involves blowing insulation material, such as cellulose or fiberglass, into the attic space. We recommend fiberglass due to it being less messy and more efficient.
The blown-in insulation fills up gaps, cracks, and corners, creating a thermal barrier that prevents heat loss in winter and heat gain in summer. In this way, blown-in attic insulation provides homeowners with a comfortable living environment while also saving them money on their energy bills.
Here are the six benefits of installing attic blown-in insulation in your home:
Improved Energy Efficiency: Attic blown-in insulation creates a thermal barrier that prevents heat from escaping in winter and entering in summer. As a result, it reduces the amount of energy needed to heat or cool your home, thereby improving its energy efficiency and reducing utility costs.
Cost-Effective: Attic blown-in insulation is a cost-effective solution compared to other insulation types. It requires less material and installation time, making it an affordable option for homeowners on a tight budget.
Versatility: Blown-in insulation can be installed in various attic configurations, including tight spaces and hard-to-reach corners. This makes it a versatile option for homes with different types of roofs and attic designs.
Increased Home Comfort: Blown-in insulation creates a more consistent temperature throughout the home, resulting in increased comfort levels for the occupants. It also reduces drafts and hot or cold spots, making the home more comfortable to live in.
Soundproofing: Attic blown-in insulation can also help reduce noise pollution from outside, making the home quieter and more peaceful.
Environmental Benefits: By reducing the amount of energy needed to heat or cool your home, attic blown-in insulation also reduces greenhouse gas emissions and helps to conserve natural resources. It’s an eco-friendly way to make your home more energy-efficient and reduce your carbon footprint.
Work like a pro! | 6 Steps to follow when adding attic blown in insulation:
Adding attic blown-in insulation to your home is a relatively straightforward process that can be completed by most homeowners. Here are six steps to follow:
Assess Your Attic: Start by measuring the square footage of your attic to determine how much insulation you will need. Usually, the total square footage is a good measure. Check for any moisture or ventilation issues that need to be addressed before installing insulation.
Gather Materials: Purchase blown-in insulation material from a home improvement store. We recommend using fiberglass over cellulose. You will also need protective gear, such as gloves, goggles, and a dust mask, as well as a blower machine or insulation blower rental.
Prep the Attic: Clear the attic of any debris, stored items, Christmas decorations, etc. Ensure that any leaks or gaps in the attic are sealed before installation. If there was a rodent or animal infestation we recommend that you remove all the old insulation and clean the space thoroughly. Don’t leave any open holes or access for the animals to come back in through.
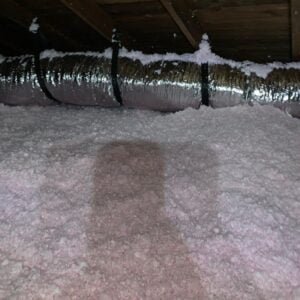
Install Insulation: Load the insulation material into the blower machine, and start blowing the insulation into the attic space. Aim for a uniform coverage of around 12 inches of insulation across the entire attic floor.
Level the Insulation: Once the insulation is installed, use a rake or leveling tool to spread it evenly across the attic floor. This will ensure that the insulation is not too thick or thin in any area, which can impact its effectiveness.
Clean Up: Once the insulation is level, clean up any excess insulation or debris in the attic. Make sure to seal all access points to the attic, such as the hatch or door, to prevent insulation from escaping into the living areas of the home.
By following these steps, you can add blown-in insulation to your attic and enjoy the benefits of improved energy efficiency, increased home comfort, and reduced utility costs.

The AC Therapist is here to help!
In conclusion, adding blown-in insulation to your attic is a simple and cost-effective way to improve the energy efficiency of your home, reduce utility costs, and increase comfort levels for you and your family.
By following the steps outlined above, you can install blown-in insulation in your attic and enjoy the benefits of a more comfortable, energy-efficient home.
If you need the help of a professional to add blown-in insulation to your attic, The AC Therapist provides superior and high-quality attic blown-in insulation services that will surely be of great help to you – saving money well over the cost! We are also here to serve you with reliable and fast HVAC repair, service, and maintenance. Contact us now at (813)-343-2212 or visit www.theactherapist.com to find out more.


